In this article we will briefly explain how you setup tables in Jamezz and download the QR code of the table(s)
Please remember that if you have one of the following POS Links you do should not follow this tutorial. ( unTill, Lightspeed L, Lightspeed K)
There is a separte tutorial for this case: Creating tables POS Linked
Step 1:
- Login to the Jamezz Backoffice.
Step 2:
Navigate to the "Sales areas" tab.
Step 3:
Navigate to the sales area filter on setting, and click on it
Step 4:
Navigate to Tables

Step 5:
Here you can create a single new table or multiple ones

Step 6:
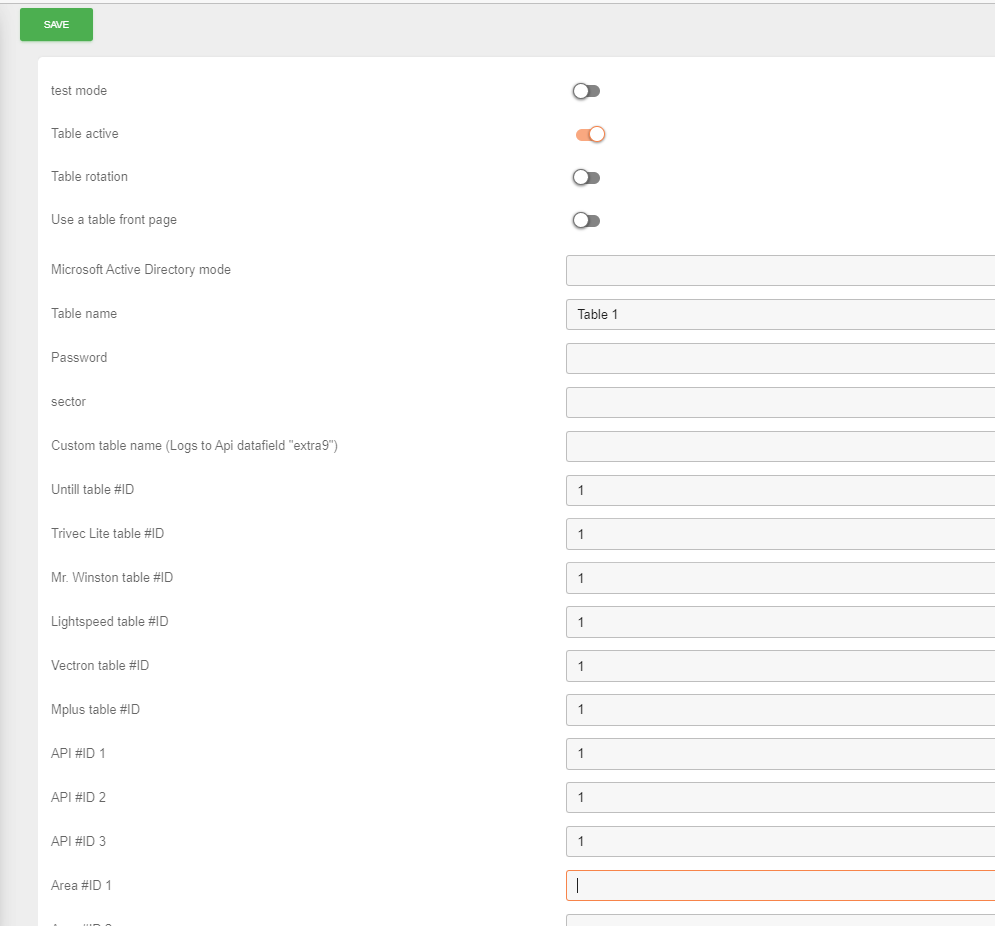
Fill in the credentials required.
Step 7:
Click save
Step 8:
Generate Webcodes

Step 9:
Navigate to the QR icon to download the QR code

Step 10:
Create multiple tables

Step 11:
Fill in the series (example is 910-920)

Step 12:
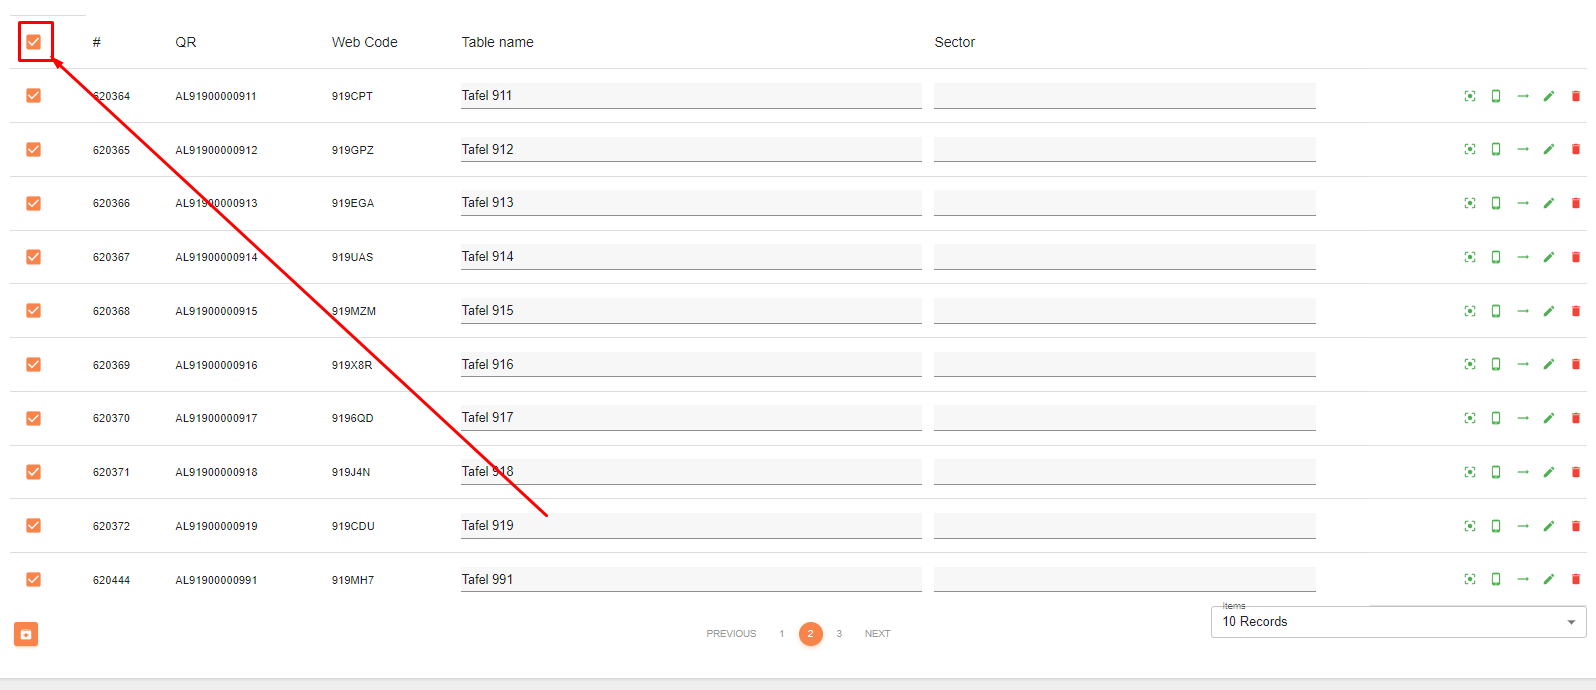
Select the "Select all" button
Step 13:
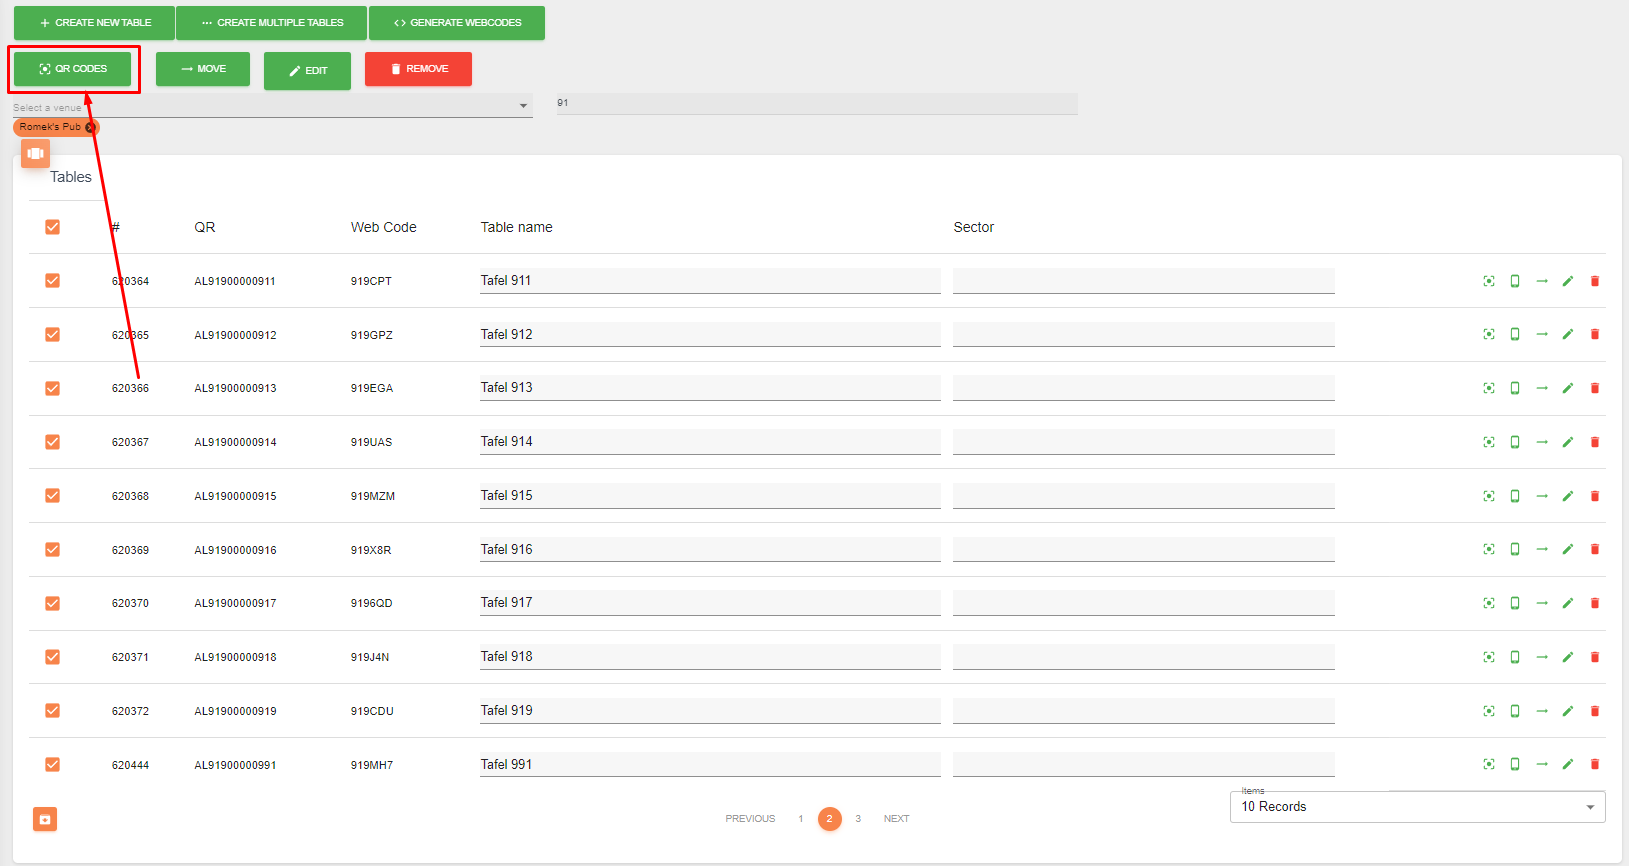
Select the QR code button
Step 14:
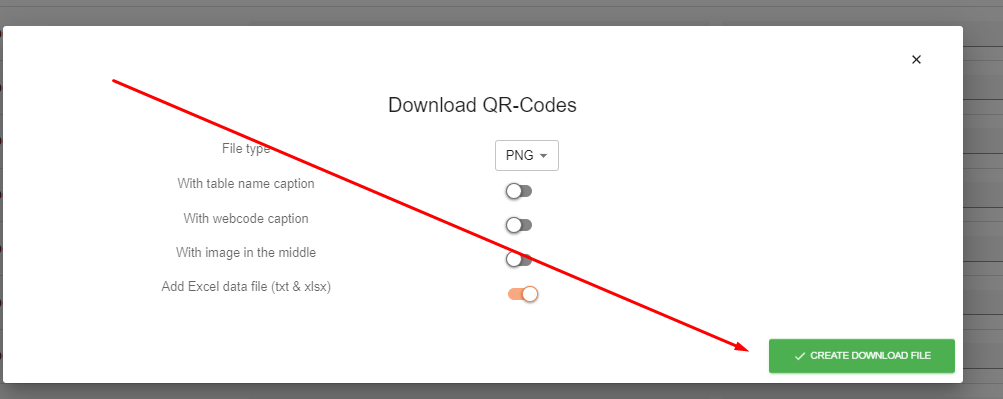
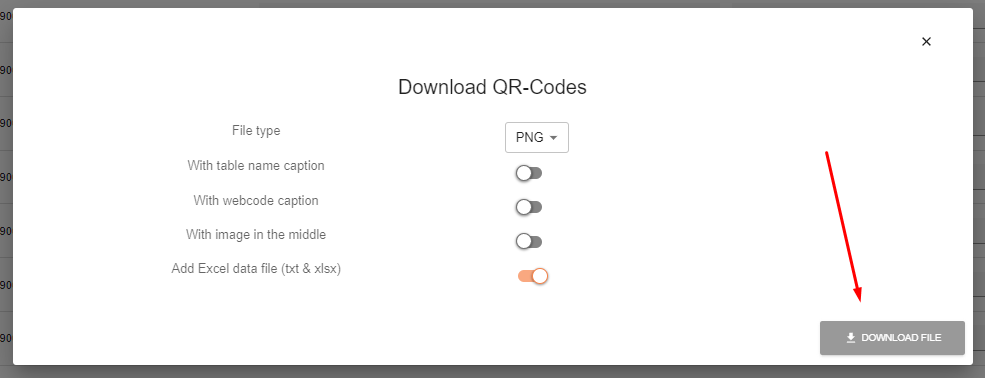
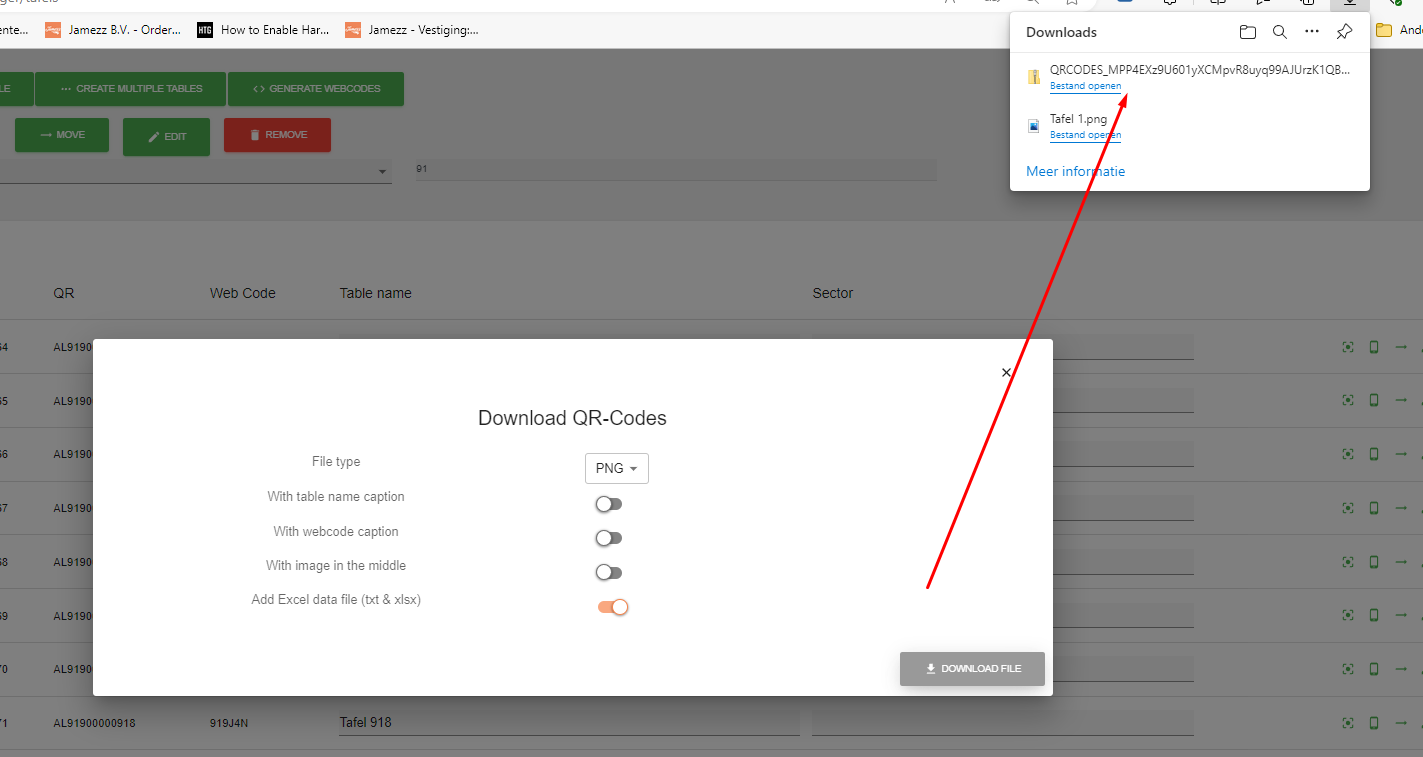
Select "Create download file"
Finish:
After following the steps above you should be able to create a single table or multiple tables.

