Products overview and other general settings.
Overview
On this page you can edit the products that you are using in Jamezz. There are a few rules to it but this will be noted by the parts where it is needed.
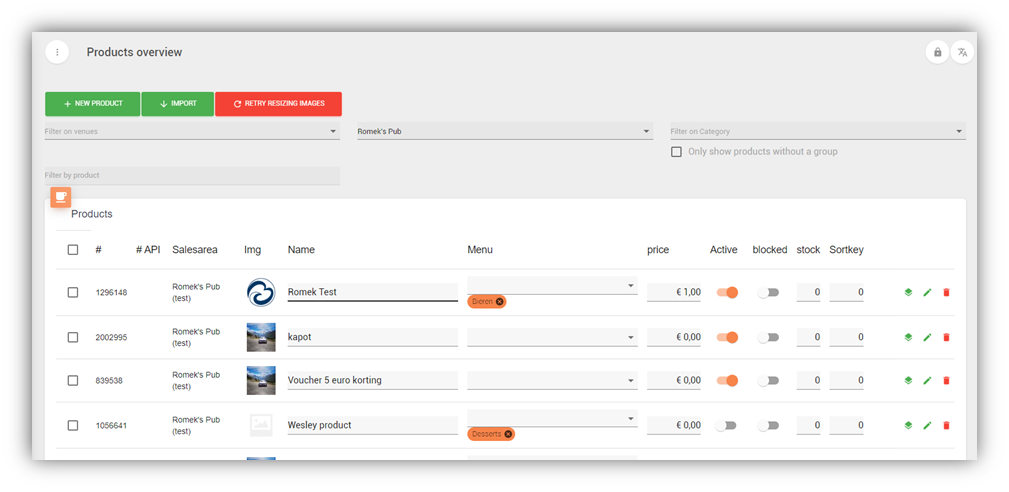
The first main things you will notice are the three bigger buttons on the top left, they do speak for themselves but below is a brief explanation.
The first button “+ New Product” will let you add a new product where you can configure the product further. *adding a new product is only allowed in Jamezz when you are NOT using a POS linked system*
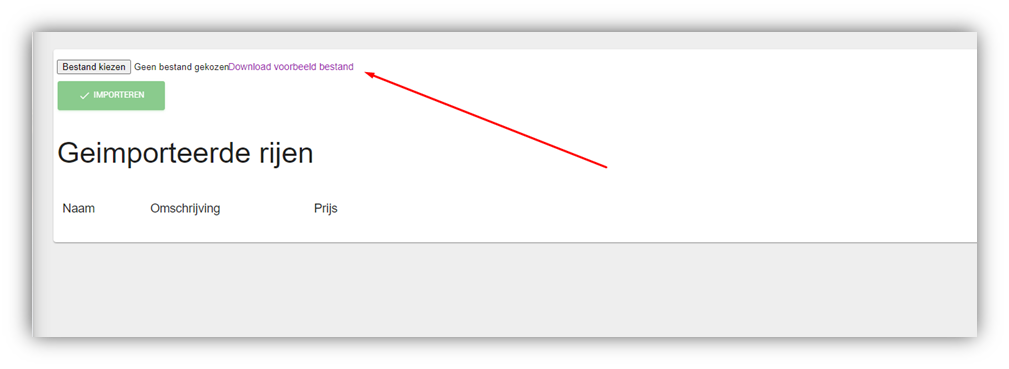
The next button will be “Import“. This button will let standalone Jamezz users allow them to import a XLS file for their products. If you press this button you will get a new page where you can download the example file to use as a template.
Also here you can eventualy upload the file to Jamezz.
And the last bigger button is “Retry resizing images”. This button will try to resize all uploaded product images, this does not always work but you can always give it a try.
Products
Underneath the 3 big buttons you will have the 4 different styles of filters you can use. The first filter is “Filter on venues”. Allows you to filter by the location to which you have linked your sales area. Next you will have “Filter on Sales area”. This is probably the most important filter of the 4 because if you have nothing filled in here, or the wrong sales area, you will not find the products you are looking for.
Besides the “Filter on sales area” you will find the “Filter on Category” This is where you can filter on your menu card that is also displayed on the main page.
Under this filter, you have a box where you can enable to see only products without menu/group "Show only products without group". The last filter that you can use is “Filter by product” which speaks for itself.
Now we come to the next part of the page and that is what all of the icons/names mean and what they do.
The first icon you will see is a selection box. When you select one article (or multiple) this will enable a few new buttons on the top left. “Duplicate products”, “Edit” and “Remove”.
“Duplicate products” does speak for itself of course but there are a few following steps you will need to do before you can actually copy the selected product.
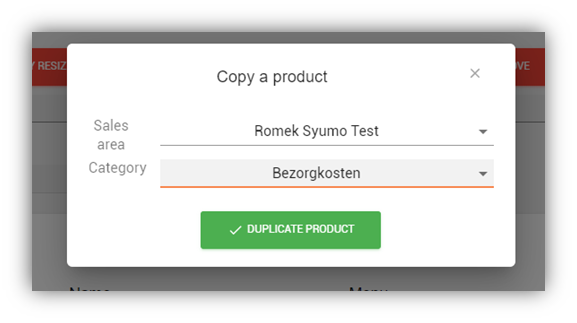
As you can see you first need to select the sales area to where you want to copy it to, and the 2nd question in what category you want to copy it in.
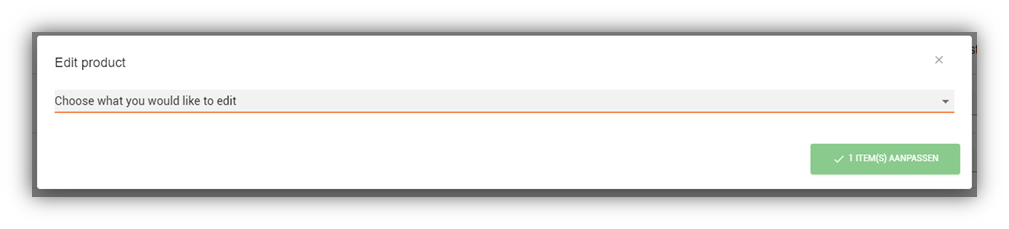
The next Button is going to be “Edit” here you will get a few extra functionalities that you can use for mass editing the products.
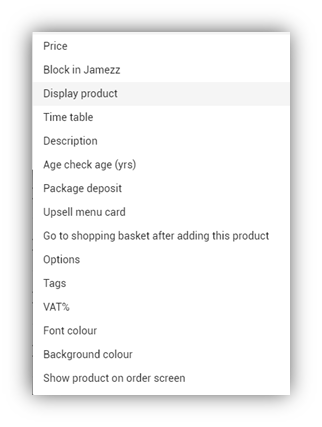
Price: Here you can edit the price(s) of the product(s) you’ve selected.
Block in Jamezz: Here you can block the product(s) you’ve selected.
Display Product: This will basically enable and disable the product(s).
Time Table: Here you can edit the time table, where you can edit whenever the product(s) should be visible or invisible for the customer.
Description: This allows you to edit or fill in the description of the selected product(s).
Age check: Lets you enable and disable the age check on the selected product(s) by filling the age which is required to be able to order.
Package deposit: This lets you select a article which will be used as a deposit for your article, like a pepsi bottle or Fanta bottle which have deposits in the Netherlands.
Go to shopping basket after adding this product: Well like the title says when you order this product or these products you will immediately go to your shopping basket.
Options: Here you can enable and disable the options of the product(s). You can also upload pictures here for the options.
Tags: Here you can add tags to the products that you have configured.
VAT%: This will let you fill in the VAT’s for the products.
Font Color: This will let you edit the font color that is being used in the front end for the selected product(s).
Background color: This will let you edit the background color of the box where the product is visible in.
Show product on order screen: This will let you add the product to the order screen.
And the last button you will see is the “Remove” button. Well of course this will remove the article you’ve selected. In Jamezz, articles are not hard deleted, so you can always retrieve them from the archive found on the left side of the page, at the bottom.
Now we’ve arrived at the last part of this page. The first icon after the Checkbox will be the “#”. Here you will see the Jamezz id of the product. This is a random number generated by Jamezz. Behind that you will see “#API”. This is the API ID which products get in the POS linked system.
Of course “Sales area” tells you in what sales area the product is.
Next thing you will see is “IMG”. This is just short for image, so here you can drag your images to, or see what image is already in use.
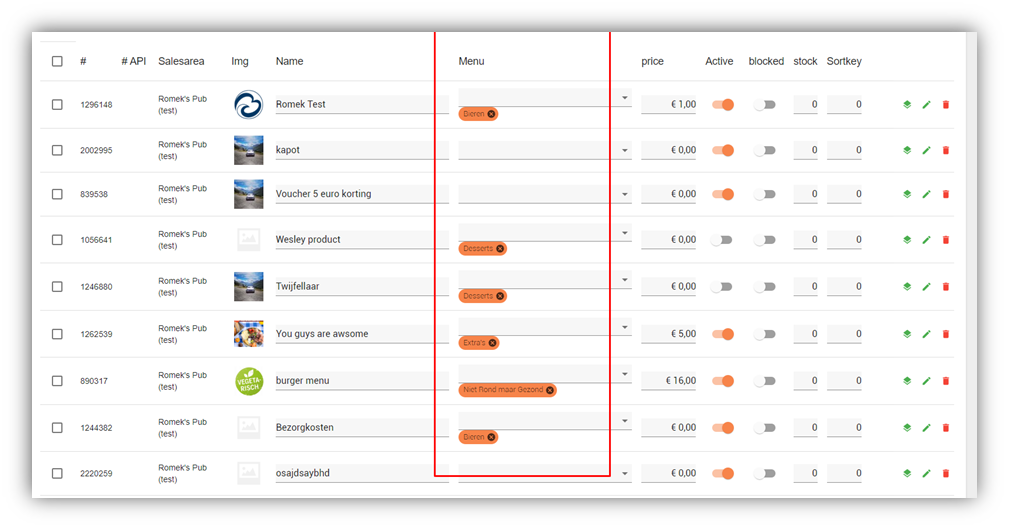
After that you will see the product name “Name” here you can edit the product names. Behind that you will find “Menu” and there you can add the product to a Category or multiple categories (ONLY IN V5).
Behind the “Menu” you will find the “Price”. Here you can change the prices of the products. This is only when you are working standalone with Jamezz, POS linked sales areas should not change the prices in Jamezz.