Here you can give the menu an image, banner or other extra's.
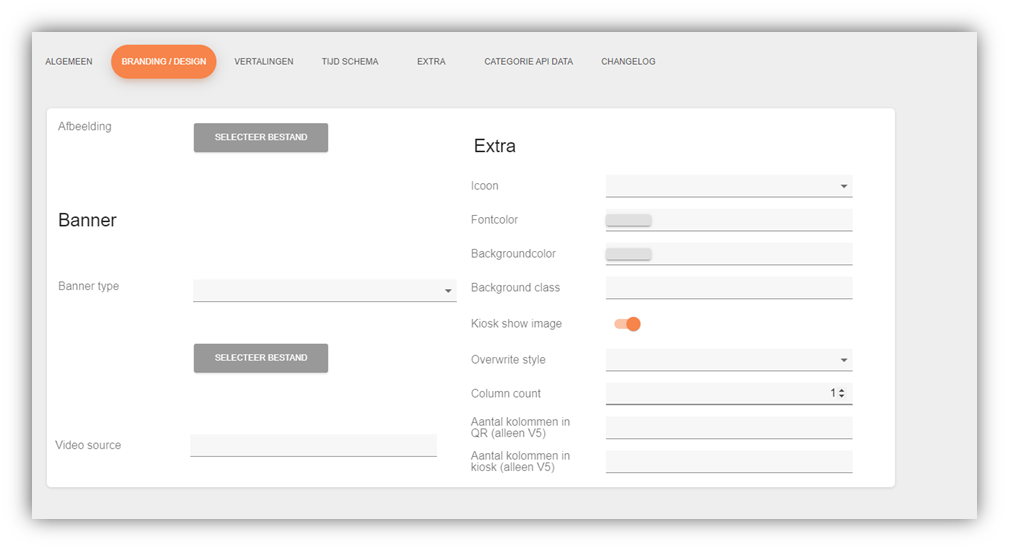 Image: Here you can give the menu an image that will be displayed in the application.
1Banner
Banner Type: If you are adding a banner for your menu, you can select where the image or video will come from here.
Video Source: If you want a banner video, you can do so here. You need to paste a partial link into this.
Extra
Icon: Here you can select an appropriate icon for your menu which will then be displayed in application.
Fontcolor: You can add a font color to your menu here. You do this by means of a hex code.
Backgroundcolor: Here you can give a background to your menu text. You do this by means of a hex code.
Kiosk show image: You can specify here whether your image should be displayed in the kiosk.
Overwrite Style: Here you can specify how your products should be displayed in the menu. The most default option is a list view, then all your products will be displayed below each other.
Column Count: You can specify here how many products should be displayed next to each other. If you put a 3 here, your products will be displayed side by side in groups of 3.
Number of columns in QR (v5 only): This works the same as column count. The only difference is that you enter all your work in QR v5 specify your number of columns here.
Number of columns in kiosk (V5 only): This works the same as column count. The only difference is that you enter all your work in kiosk v5 specify your number of columns here.